
Create the FortiGate VM virtual machine (XenCenter)
To create the FortiGate VM virtual machine from the OVF file
- Launch XenCenter on your management computer.
The management computer can be any computer that can run Citrix XenCenter, a Windows application. - If you have not already done so, select ADD a server. Enter your Citrix XenServer IP address and the root logon credentials required to manage that server.
Your Citrix XenServer is added to the list in the left pane.
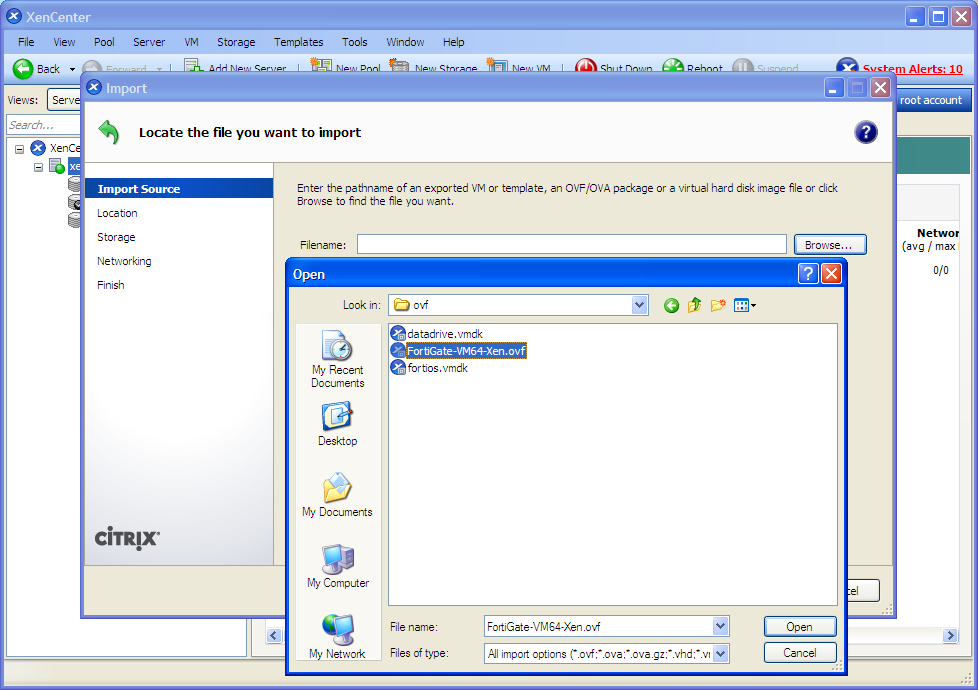
The Virtual Machine Manager home page opens. - Go to File > Import. An import dialog will appear.
- Click the Browse button, find the FortiGate-VM64-Xen.ovf template file, then click Open.
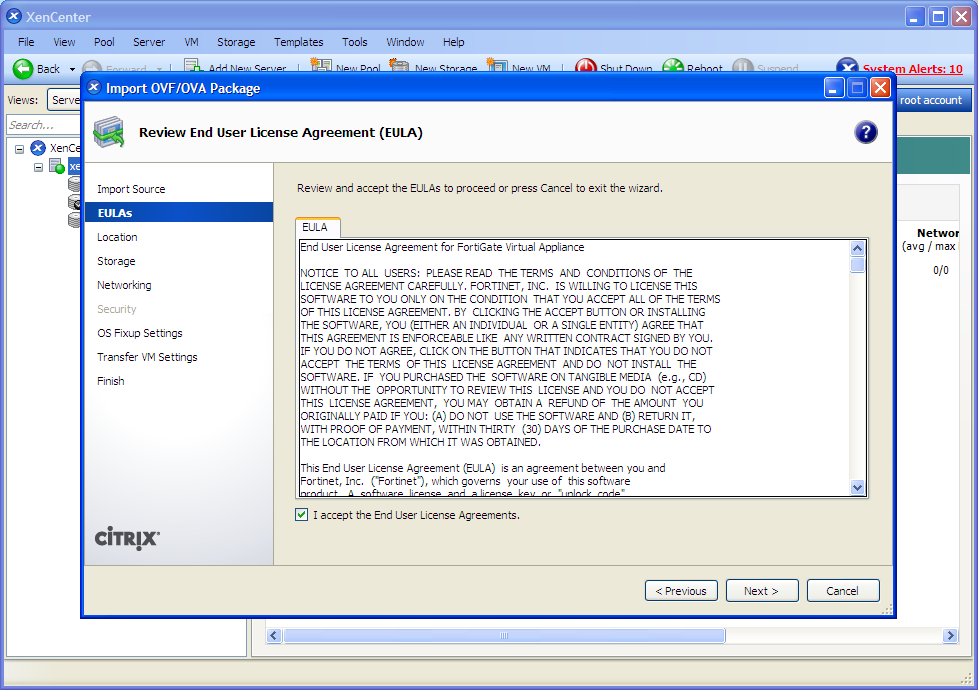
- Select Next.
- Accept the FortiGate Virtual Appliance EULA, then select Next.
- Choose the pool or standalone server that will host the VM, then select Next.
- Select the storage location for FortiGate VM disk drives or accept the default. Select Next.
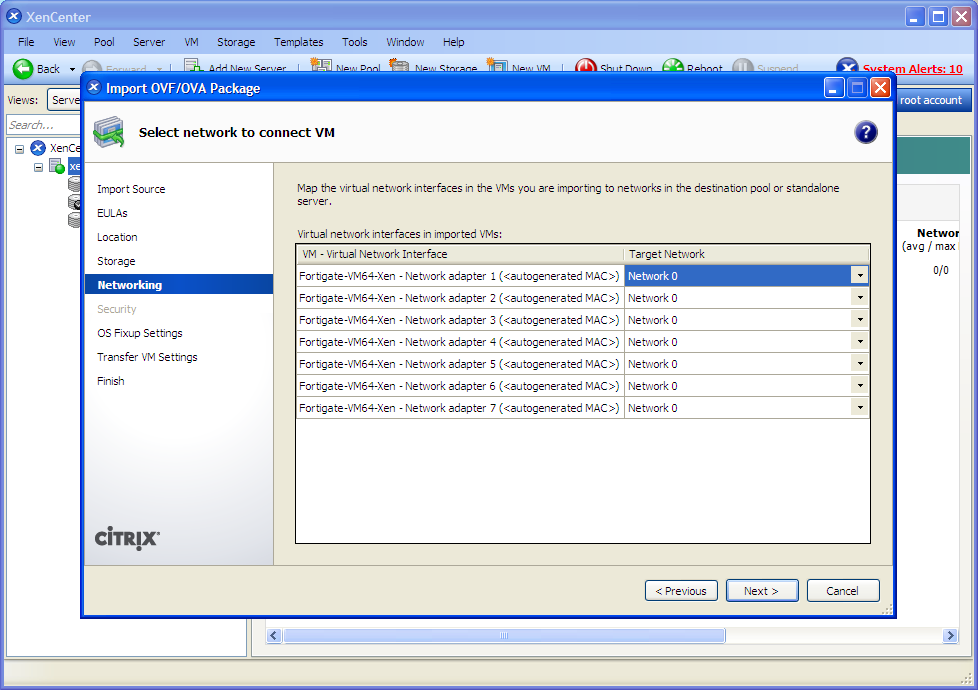
- Configure how each vNIC (virtual network adapter) in FortiGate VM will be mapped to each vNetwork on the Citrix XenServer, then click Next.
- Click Next to skip OS fixup.
- Select Next to use the default network settings for transferring the VM to the host.
- Select Finish.
The Citrix XenServer imports the FortiGate VM files and configures the VM as specified in the OVF template. Depending on your computer’s hardware speed and resource load, and also on the file size and speed of the network connection, this might take several minutes to complete.

When VM import is complete, the XenCenter left pane includes the FortiGate VM in the list of deployed VMs for your Citrix XenServer.
Copyright © 2018 Fortinet, Inc. All Rights Reserved. | Terms of Service | Privacy Policy
